Step 1: BUY YOUR FABRIC
- I shop at Fabricland and only buy fabrics on sale.
- In the quilting section of Fabricland all flannel and some cottons are %50 off, often even beyond the already reduced sale price of select brands. I generally spend about $5.00-$9.00 per meter on my flannel fabrics.
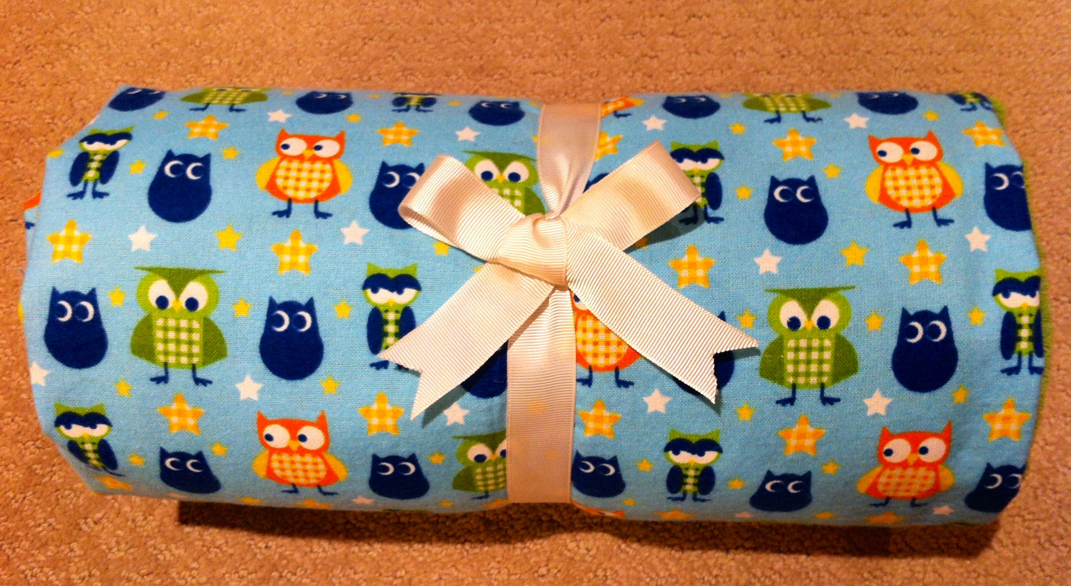
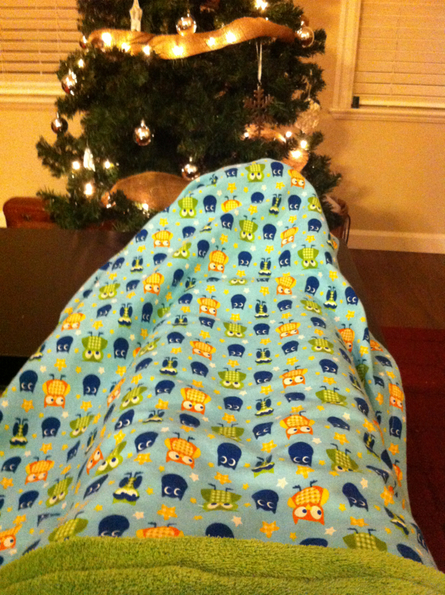
- The topside of this blanket is flannel- the owl print actually glows in the dark.
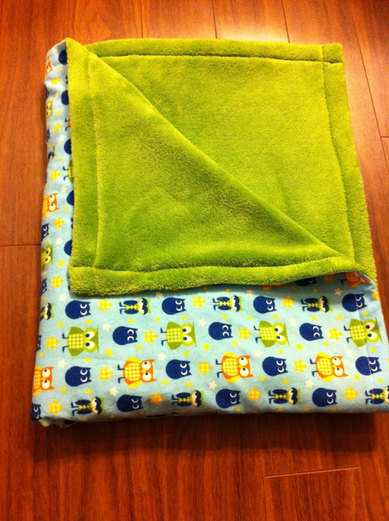
- The underside of the blanket is fleece. This fleece fabric was very messy to work with but the finished product was worth it.
- I purchased 1.5m of each fabric to make my child size blanket. (Was made for 8 yr old boy).
- I shop at Fabricland and only buy fabrics on sale.
- In the quilting section of Fabricland all flannel and some cottons are %50 off, often even beyond the already reduced sale price of select brands. I generally spend about $5.00-$9.00 per meter on my flannel fabrics.
- The topside of this blanket is flannel- the owl print actually glows in the dark.
- The underside of the blanket is fleece. This fleece fabric was very messy to work with but the finished product was worth it.
- I purchased 1.5m of each fabric to make my child size blanket. (Was made for 8 yr old boy).
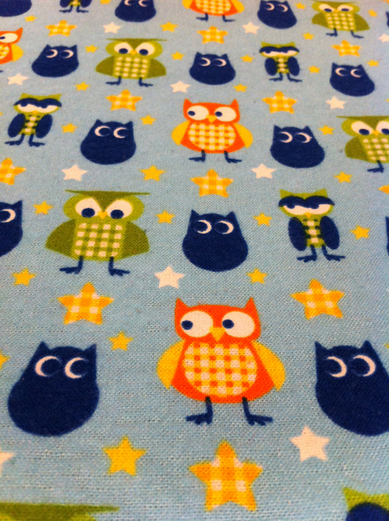 |  |
The eyes of the owls and the stars glow in the dark!
Step 2: PREPARE YOUR FABRICS
Flannel
I washed the flannel in warm water because I would prefer shrinking to take place before sewing. I also used regular detergent and put it in the dryer.
Fleece
NO fabric softener...NO dyer sheets...NO bleach and NO ironing
Doing any of these can diminish the water repellant properties of the fabric or melt it.
DO Wash in warm water with other fleece items; not harsh surface items such as towels, or jeans.
The fleece I chose unravelled very easily. I had to wash it on a gentle cycle to prevent the blanket from pulling and tearing.
Cutting
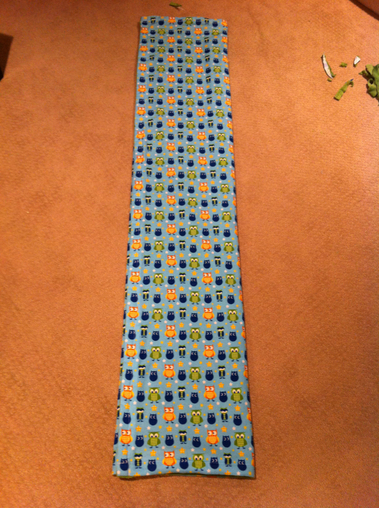
Once both of your fabrics are washed, they will likely be misshapen. I square my fabrics, making all the shrunken edges straight. Since the fleece fabric was so sensitive I cut as few edges as possible. The fabric came with a border on one side that looked different in texture and colour from the rest of the blanket, instead of cutting this off, I kept it and used it as the fold over border part of my blanket. This made the fabric less fragile.
I then match up my two fabrics by flattening them on a large open work space. I used my carpet floor, a large table would work best. Once I find the best edges, I cut off any large amounts of excess fabric, making the largest blanket I can from my materials. You can eyeball your cuts but buying a few tools will really pay off in the long run. My 3 favourites are: my rotary cutter, my cutting mat and my 2.5ft ruler.
The cutting at this point does not need to be perfect. You can do a more exact cutting job after the fabrics are pinned.
P.S. - cut the way you will sew/pin your fabric together. see step 3
Flannel
I washed the flannel in warm water because I would prefer shrinking to take place before sewing. I also used regular detergent and put it in the dryer.
Fleece
NO fabric softener...NO dyer sheets...NO bleach and NO ironing
Doing any of these can diminish the water repellant properties of the fabric or melt it.
DO Wash in warm water with other fleece items; not harsh surface items such as towels, or jeans.
The fleece I chose unravelled very easily. I had to wash it on a gentle cycle to prevent the blanket from pulling and tearing.
Cutting
Once both of your fabrics are washed, they will likely be misshapen. I square my fabrics, making all the shrunken edges straight. Since the fleece fabric was so sensitive I cut as few edges as possible. The fabric came with a border on one side that looked different in texture and colour from the rest of the blanket, instead of cutting this off, I kept it and used it as the fold over border part of my blanket. This made the fabric less fragile.
I then match up my two fabrics by flattening them on a large open work space. I used my carpet floor, a large table would work best. Once I find the best edges, I cut off any large amounts of excess fabric, making the largest blanket I can from my materials. You can eyeball your cuts but buying a few tools will really pay off in the long run. My 3 favourites are: my rotary cutter, my cutting mat and my 2.5ft ruler.
The cutting at this point does not need to be perfect. You can do a more exact cutting job after the fabrics are pinned.
P.S. - cut the way you will sew/pin your fabric together. see step 3
 |  |
Step 3: Pinning your fabrics
- I chose to keep my sewing of this blanket very simple. This method creates a two sided reversible blanket.
- I turned the fabrics so the nice sides were facing each other. (The owls were facing the softest side of the fleece. I stretch the fabrics out so they are flat and squared to eachother. I then pin the entire perimeter, putting a pin every 2-4 inches, depending on your preference/fabric.
- Because my fleece was fragile I put in a lot more pins that usual.
- I generally leave only a few centimetres between the head of the pin and the edge of the fabric.
- If needed, cut fabric so the edges are more exact.
The hardest part is done!
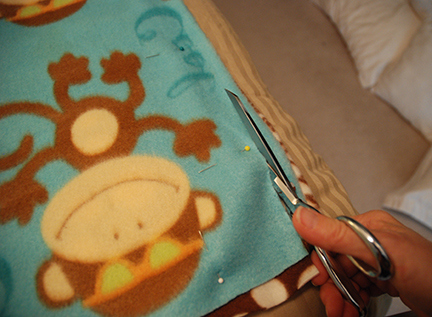
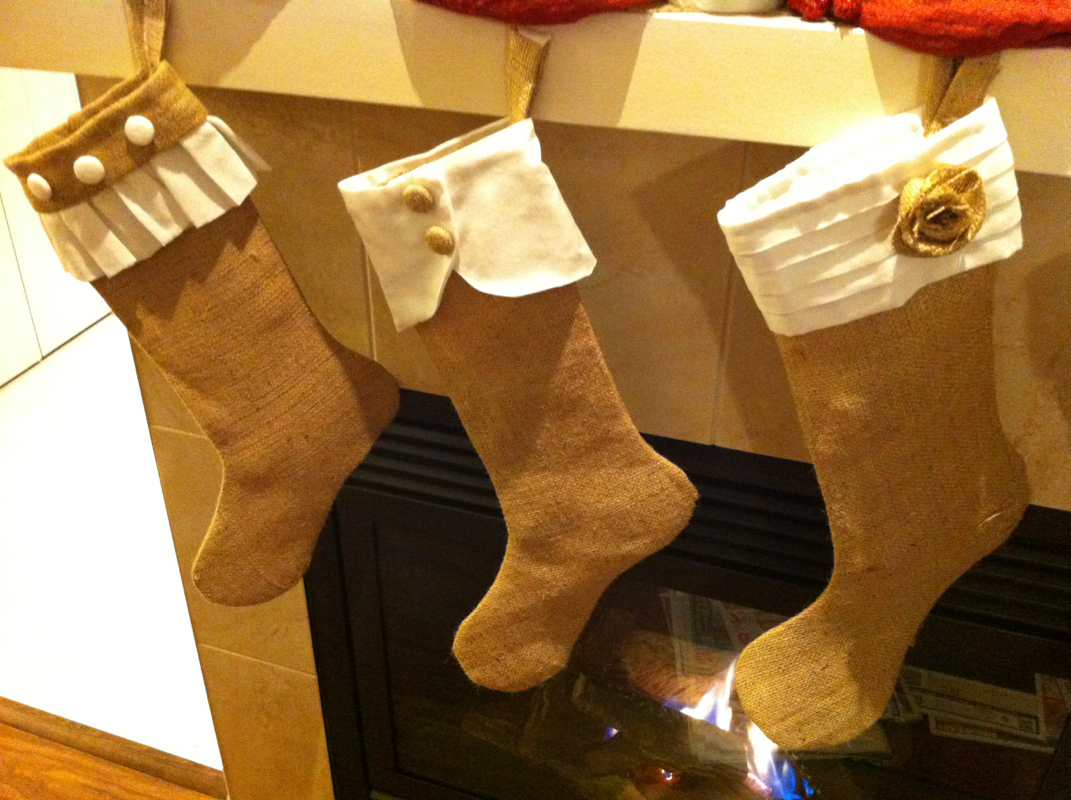
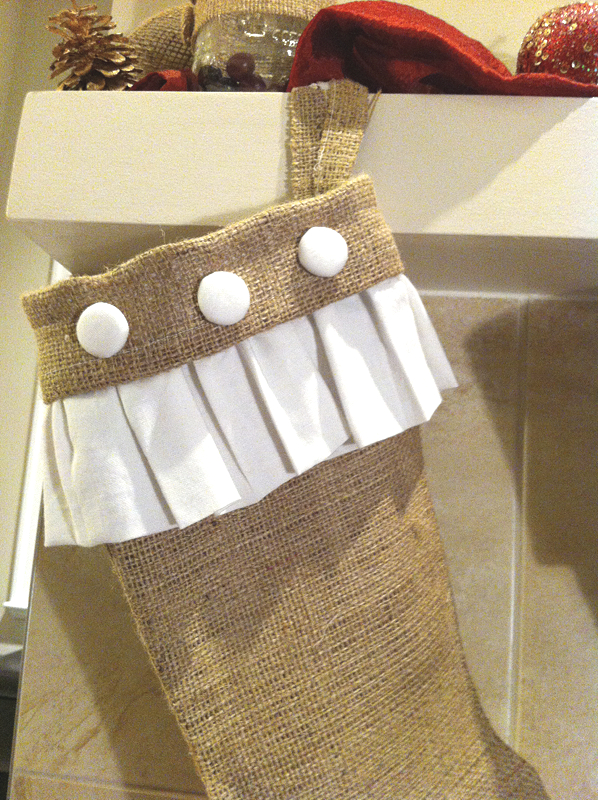
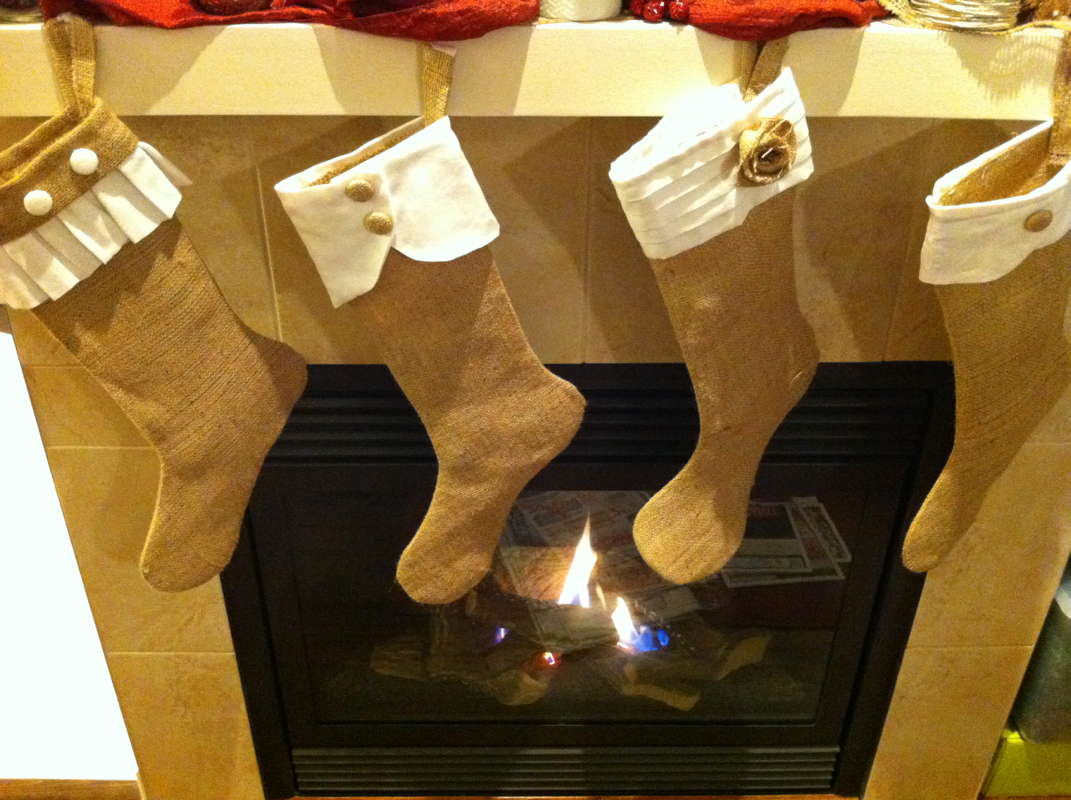
I forgot to take a picture of my pinning process. Here is a picture from a different project. For all the visual learners out there.
Step 4: Sewing your blanket
Sewing with fleece
- Just like sweatshirt fabric or stretch kits, longer stitches work best. 7-9 stitches per inch (3mm - 3.5mm) is suggested.
- Needle recommendations for 2 layers of fleece:
Lightweight (microfleece) 70/10 or 75/11
Regular weight 80/12 or 90/14
Fleece is a knitted fabric, so use a universal, ballpoint or stretch needle.
Pressing down the pedal
- Find a thread that matches your solid colour fabric
- Sew the perimeter of your now pinned inside out blanket.
-Make your stitch about .5-1 inch from the edge. The more space you leave, the easier the next step will be.
- Don't forget to leave a space for turing the blanket right side out. I generally leave about 6 inches for a blanket this size.
- Once the blanket is pulled through the hole you can almost see the final product. However, at this point the blanket looks a little sloppy because there isn't a strong border.
- By creating the border, your current hole will be sealed.
- At this point if I wasn't using fleece I would iron the edge of the blanket, making the fold really sharp and clear. But fleece cannot be ironed (it would melt/burn).
Finishing touches - Creating the border
- Don't be like me and get over excited the the project is almost done! Take your time and finish carefully.
- Pin the two layers together and determine how wide you want your border.
-Tip: if your border is less wide than your edge on step 3 then your hole will be closed when you sew and you won't need to do as much hand sewing to make that gap look pretty.
- My border was 3/4". Place the pins every 5-7 inches for this step.
- Sew that border! Backstitch to start and end each side. This will create little squares in the corners. (See picture between steps 2 and 3).
- Now cut off excess thread and hand stitch the border gap where the hole was and then....
YOUR DONE!
My favorite part- trying it out!
Success! All wrapped and ready for giving.