 |  |
 |  |
| At Home & Happy |
|
|
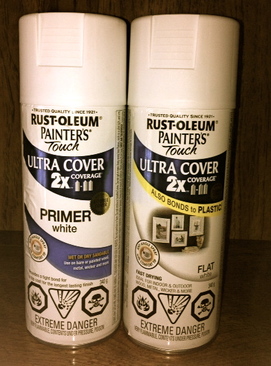
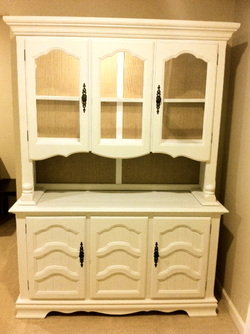
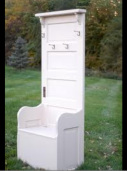
For this DIY project I wanted to work on a larger piece of furniture which could have some real value $$$ by the time I was done. I decided on a hutch. The pictures below are my inspiration. My goal was to take an inexpensive hutch from Craigslist "A Frugal Find"... give it a facelift and transform its style. 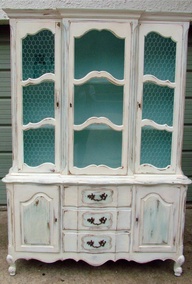 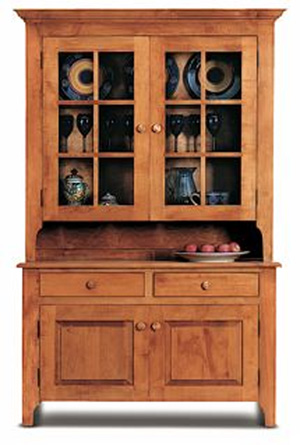 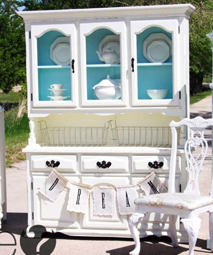 This is the hutch I found (See below). Sadly I had already removed the doors and glass before I remembered to take my "BEFORE" photo but it give you a general idea. This hutch is made of solid oak, it had a natural finish with a nice gloss. The wood was in mint condition with only minor wear spots on the surface of the buffet underneath where the hutch rested. I found a lady in my local neighbourhood giving this hutch away for FREE. It was moving day and since she was downsizing the hutch was no longer needed. My only expense was borrowing a friends truck to move it. $30 I think. The small picture at the top right was my vision for how I would restore this hutch. The style was almost identical so I knew I could pull it off. However, instead of baby blue I wanted to add a more neutral colour, especially if I wanted to appeal to a larger market for selling it later. I decided to go with a white matte look with black hardware and a burlap backing. CHECK IT OUT 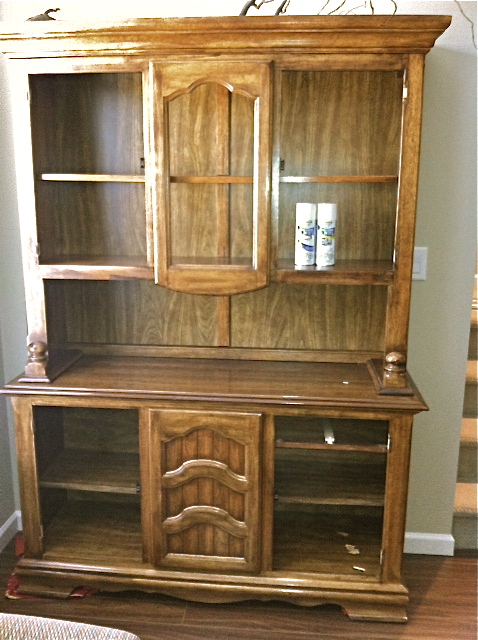 I started with Rust-oleum primer and flat paint. My goal was to do as little work as possible. I wanted to see if these DIY projects without sanding were really possible. Especially since sanding has always been my least favourite part. The priming process was a pain! I worked on just the buffet portion of the hutch and unfortunately I found the process so frustrating, I put the hutch part on hold for almost a year. The trouble with the primer was "cracking or bubbling" the paint in certain areas would not stick to the surface. I figured this was my fault for not sanding or possibly due to the weather. Apparently the crackling can happen when the weather is colder than 15 degrees and since I was working on this outside in my garage I was worried that may have been the case.
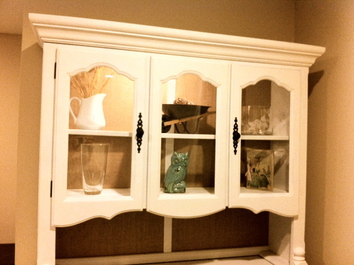
Take a look at the finished product
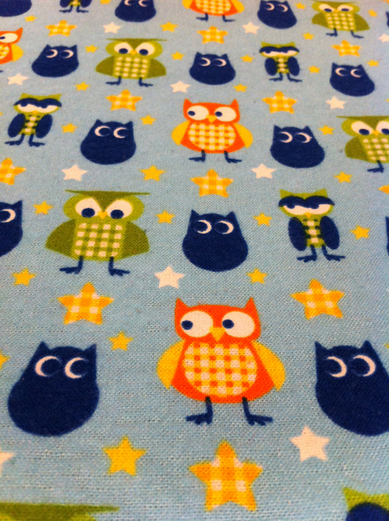
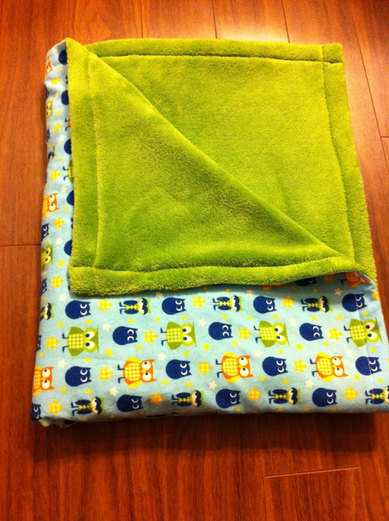
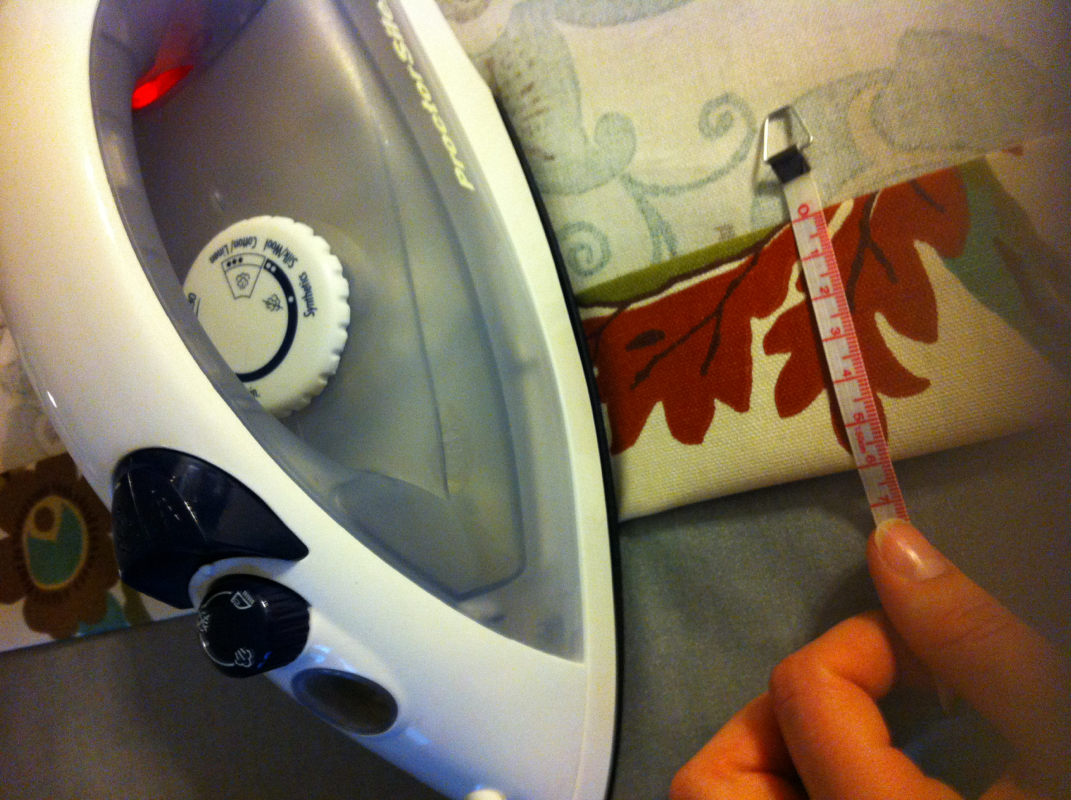
For the hardware I used a flat black spray paint specifically for metal. I kept the existing hardware. The durability of the paint on the hinges is not as great as I would have hoped so I wont recommend that product to you. The whole process of painting the existing hardware was much easier than I expected thought. And cost effective too. 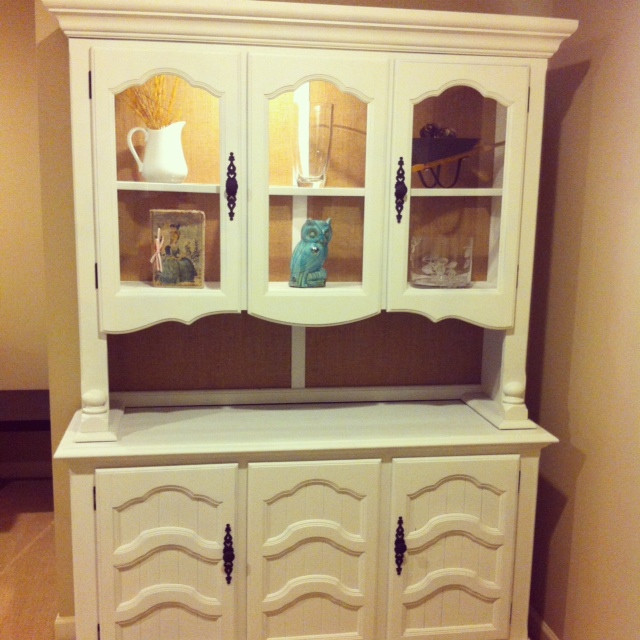 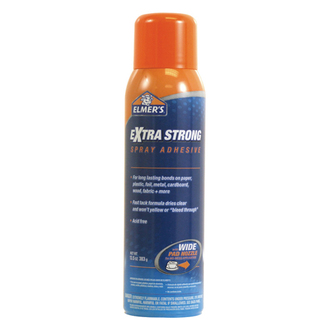 Click the picture to see it on the Home Depot website Click the picture to see it on the Home Depot website To complete my restoration I decided to add a fabric to the panels at the back. I thought burlap would give the hutch uniqueness and add to the shabby chic style. I got the burlap from Arlenes in Langley for less than $15.00. I used Elemer's spray adhesive ($7 at Home Depot) to secure the burlap to the backing - a definite two person job. I quickly realized that the vertical wood piece down the centre of the hutch which holds the two panels was not designed to hold the panels with their new thickness so my husband increased the groove using a table saw. Thank heavens the wood did not crack! Finally I used my staple gun and finishing nails to fix the burlap panels to the back of the hutch, cleaned all the glass, fastened the hardware, hung the doors, replaced the light bulbs and voilà! 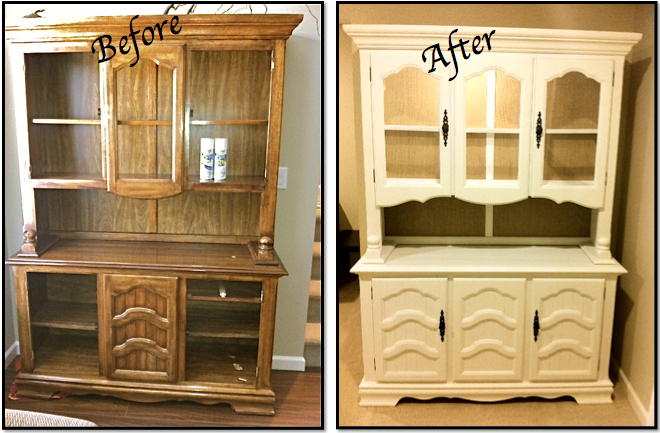 Step 1: BUY YOUR FABRIC - I shop at Fabricland and only buy fabrics on sale. - In the quilting section of Fabricland all flannel and some cottons are %50 off, often even beyond the already reduced sale price of select brands. I generally spend about $5.00-$9.00 per meter on my flannel fabrics. - The topside of this blanket is flannel- the owl print actually glows in the dark. - The underside of the blanket is fleece. This fleece fabric was very messy to work with but the finished product was worth it. - I purchased 1.5m of each fabric to make my child size blanket. (Was made for 8 yr old boy).
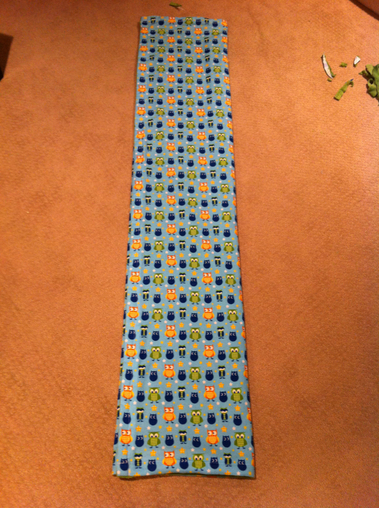
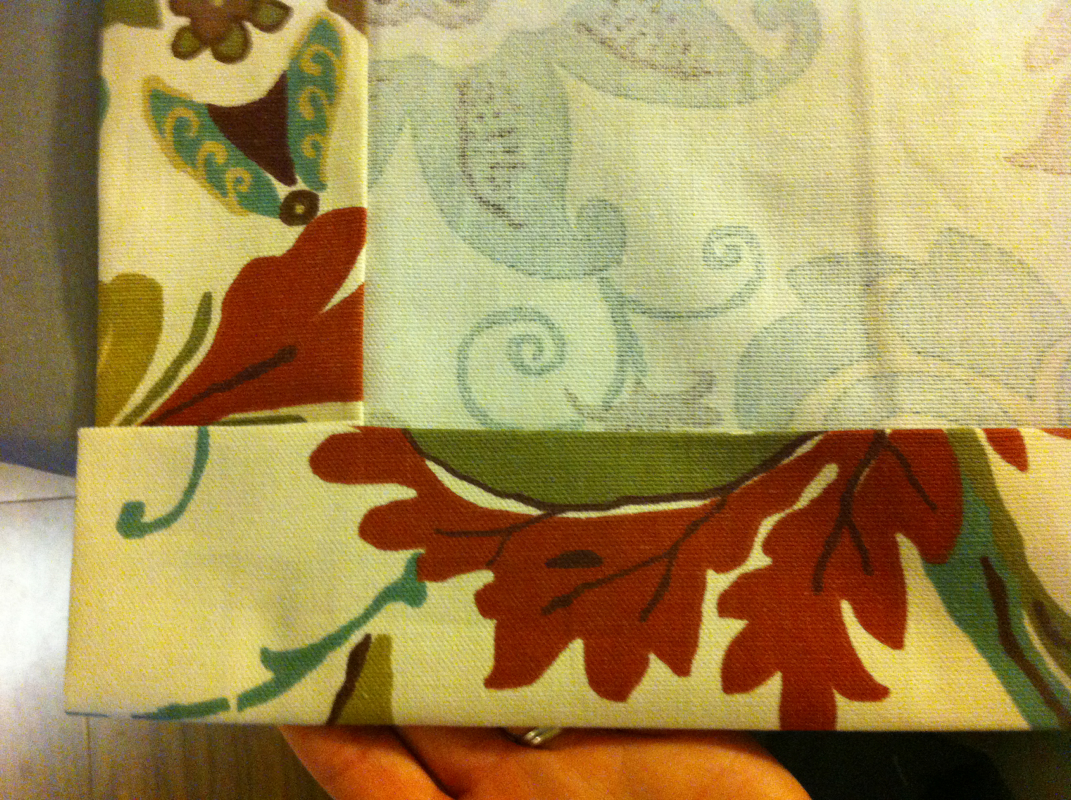
The eyes of the owls and the stars glow in the dark! Step 2: PREPARE YOUR FABRICS Flannel I washed the flannel in warm water because I would prefer shrinking to take place before sewing. I also used regular detergent and put it in the dryer. Fleece NO fabric softener...NO dyer sheets...NO bleach and NO ironing Doing any of these can diminish the water repellant properties of the fabric or melt it. DO Wash in warm water with other fleece items; not harsh surface items such as towels, or jeans. The fleece I chose unravelled very easily. I had to wash it on a gentle cycle to prevent the blanket from pulling and tearing. Cutting Once both of your fabrics are washed, they will likely be misshapen. I square my fabrics, making all the shrunken edges straight. Since the fleece fabric was so sensitive I cut as few edges as possible. The fabric came with a border on one side that looked different in texture and colour from the rest of the blanket, instead of cutting this off, I kept it and used it as the fold over border part of my blanket. This made the fabric less fragile. I then match up my two fabrics by flattening them on a large open work space. I used my carpet floor, a large table would work best. Once I find the best edges, I cut off any large amounts of excess fabric, making the largest blanket I can from my materials. You can eyeball your cuts but buying a few tools will really pay off in the long run. My 3 favourites are: my rotary cutter, my cutting mat and my 2.5ft ruler. The cutting at this point does not need to be perfect. You can do a more exact cutting job after the fabrics are pinned. P.S. - cut the way you will sew/pin your fabric together. see step 3
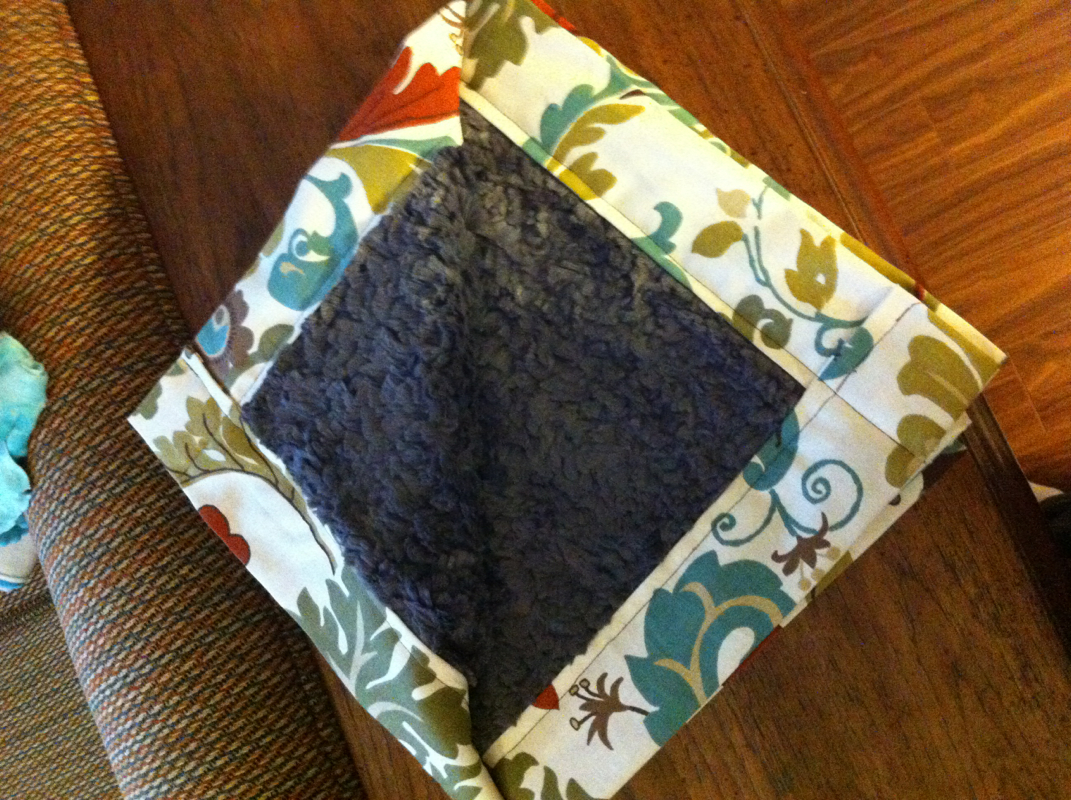
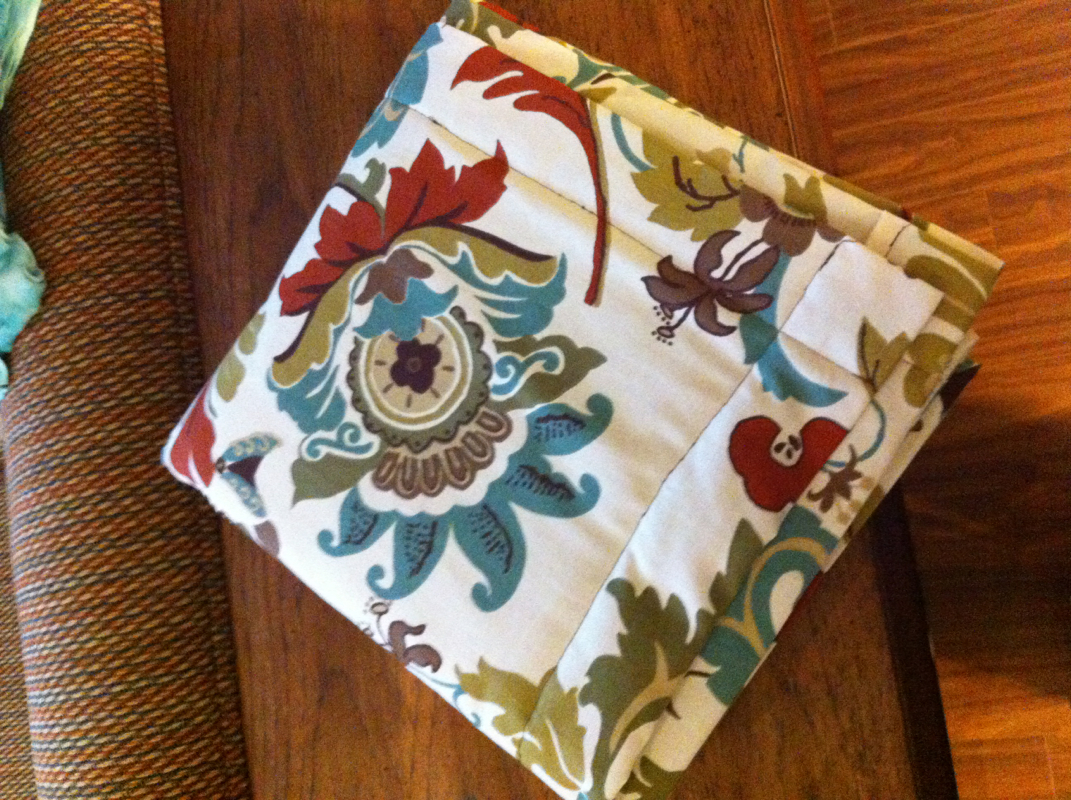
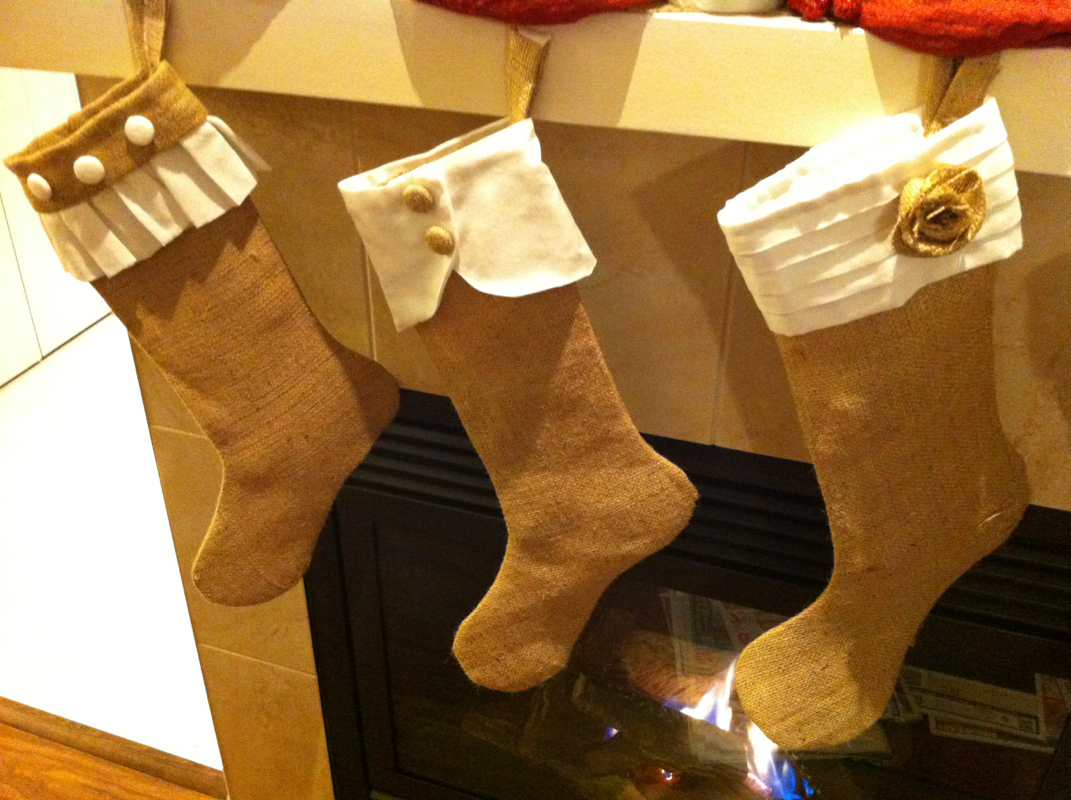
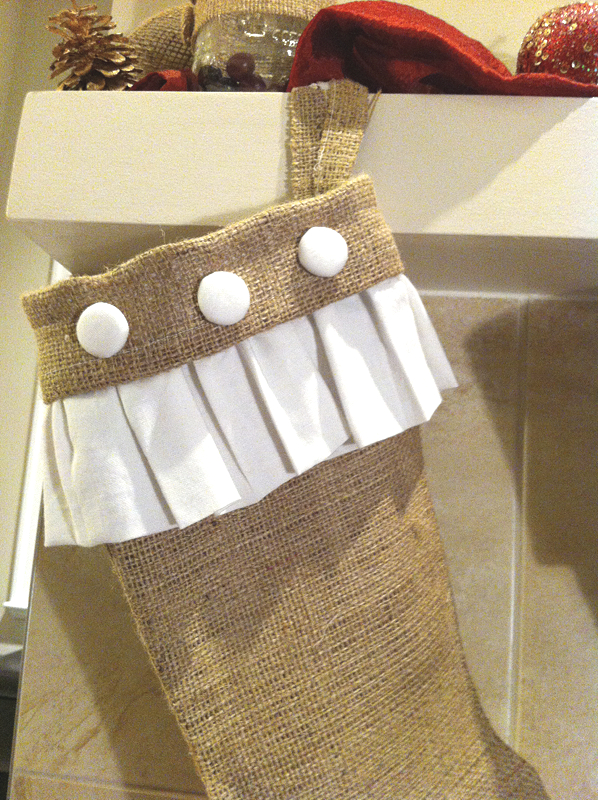
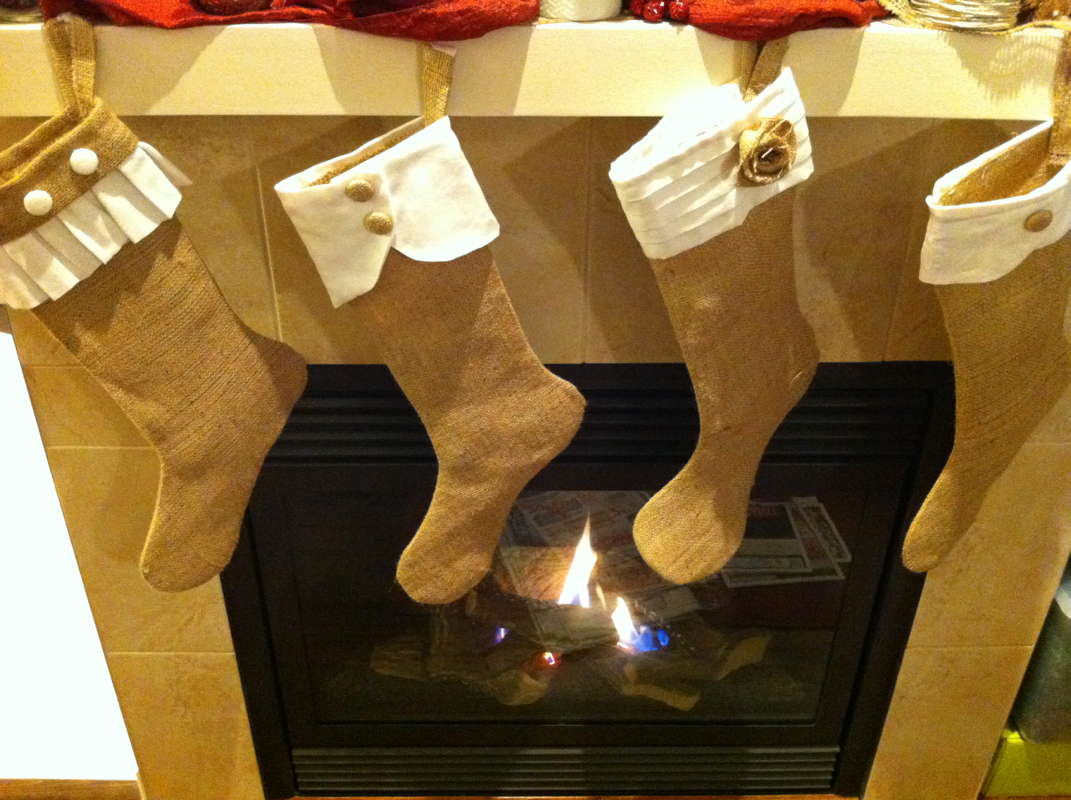
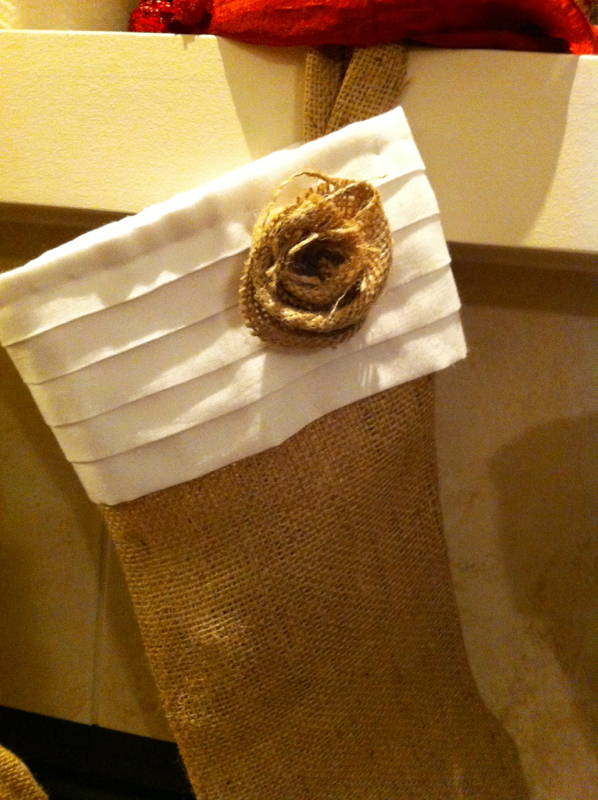
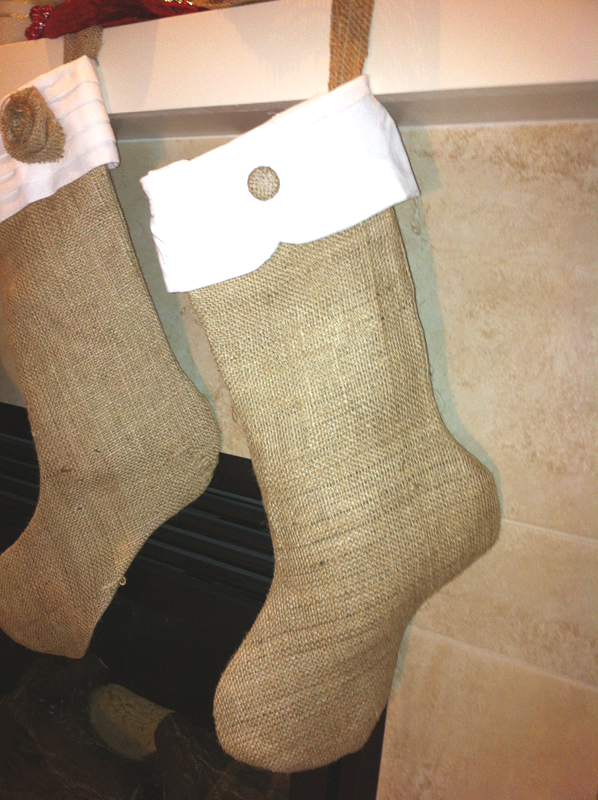
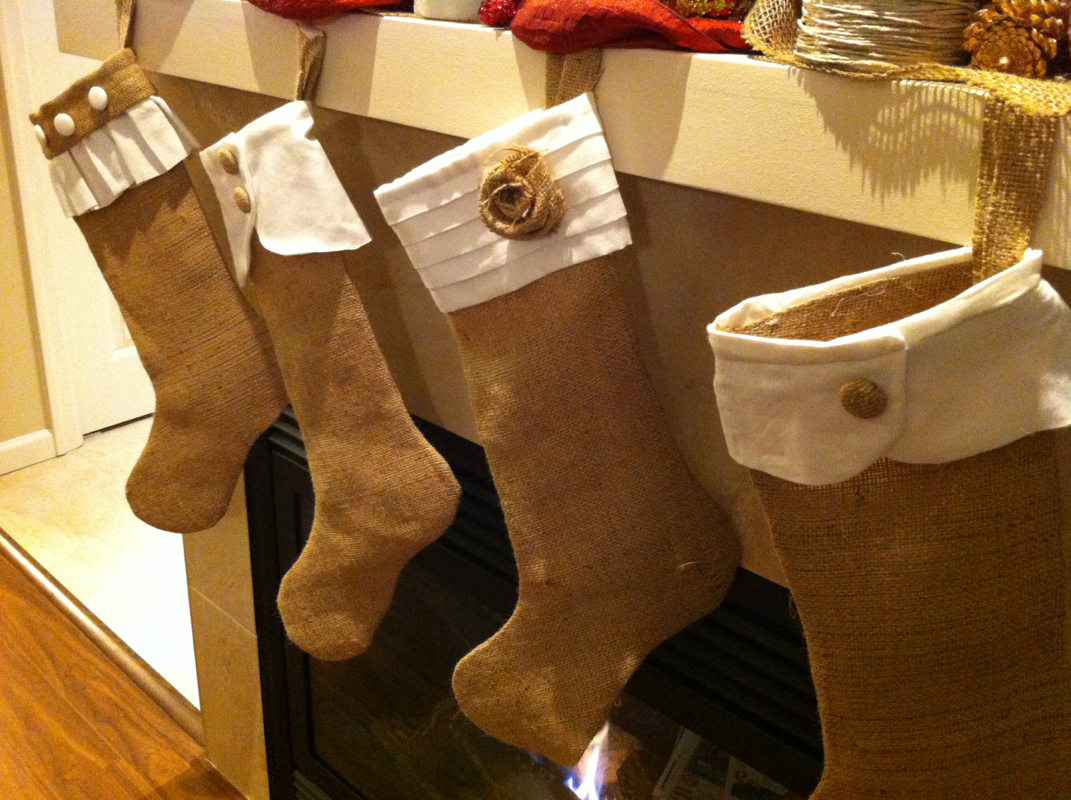
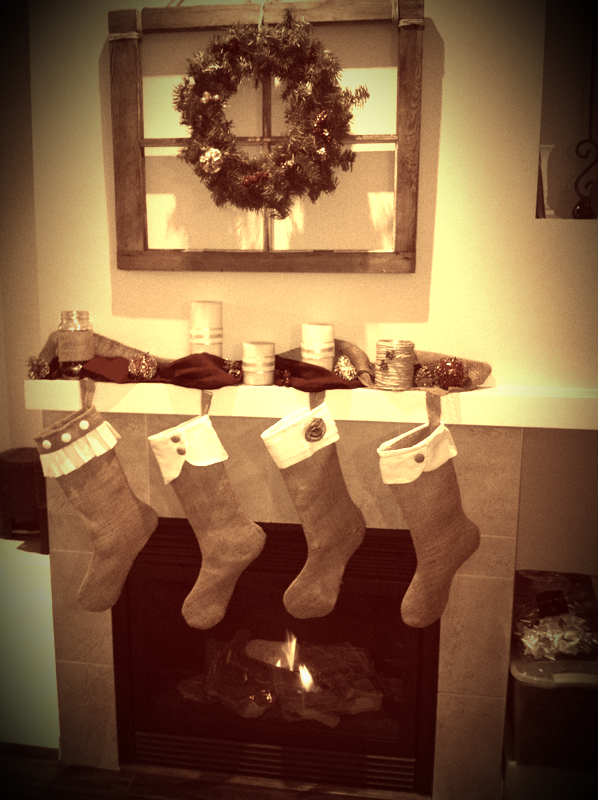
Step 3: Pinning your fabrics - I chose to keep my sewing of this blanket very simple. This method creates a two sided reversible blanket. - I turned the fabrics so the nice sides were facing each other. (The owls were facing the softest side of the fleece. I stretch the fabrics out so they are flat and squared to eachother. I then pin the entire perimeter, putting a pin every 2-4 inches, depending on your preference/fabric. - Because my fleece was fragile I put in a lot more pins that usual. - I generally leave only a few centimetres between the head of the pin and the edge of the fabric. - If needed, cut fabric so the edges are more exact. The hardest part is done! 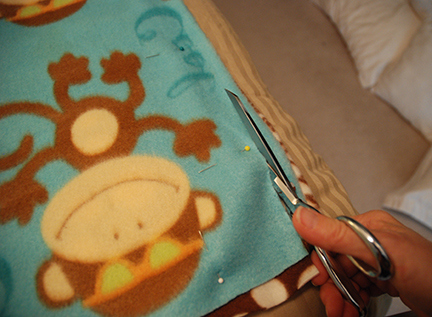 I forgot to take a picture of my pinning process. Here is a picture from a different project. For all the visual learners out there. Step 4: Sewing your blanket Sewing with fleece - Just like sweatshirt fabric or stretch kits, longer stitches work best. 7-9 stitches per inch (3mm - 3.5mm) is suggested. - Needle recommendations for 2 layers of fleece: Lightweight (microfleece) 70/10 or 75/11 Regular weight 80/12 or 90/14 Fleece is a knitted fabric, so use a universal, ballpoint or stretch needle. Pressing down the pedal - Find a thread that matches your solid colour fabric - Sew the perimeter of your now pinned inside out blanket. -Make your stitch about .5-1 inch from the edge. The more space you leave, the easier the next step will be. - Don't forget to leave a space for turing the blanket right side out. I generally leave about 6 inches for a blanket this size. - Once the blanket is pulled through the hole you can almost see the final product. However, at this point the blanket looks a little sloppy because there isn't a strong border. - By creating the border, your current hole will be sealed. - At this point if I wasn't using fleece I would iron the edge of the blanket, making the fold really sharp and clear. But fleece cannot be ironed (it would melt/burn). Finishing touches - Creating the border - Don't be like me and get over excited the the project is almost done! Take your time and finish carefully. - Pin the two layers together and determine how wide you want your border. -Tip: if your border is less wide than your edge on step 3 then your hole will be closed when you sew and you won't need to do as much hand sewing to make that gap look pretty. - My border was 3/4". Place the pins every 5-7 inches for this step. - Sew that border! Backstitch to start and end each side. This will create little squares in the corners. (See picture between steps 2 and 3). - Now cut off excess thread and hand stitch the border gap where the hole was and then.... YOUR DONE! My favorite part- trying it out! 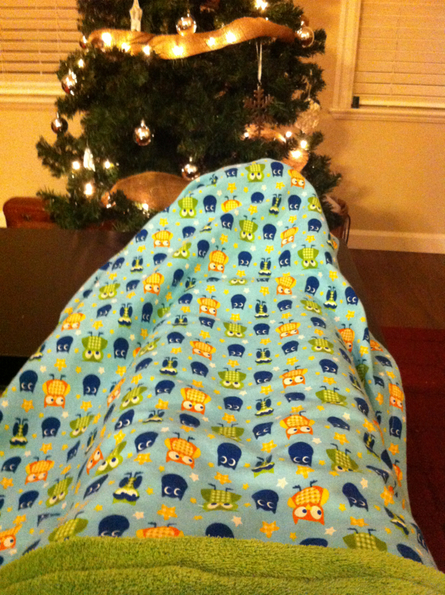 Success! All wrapped and ready for giving. 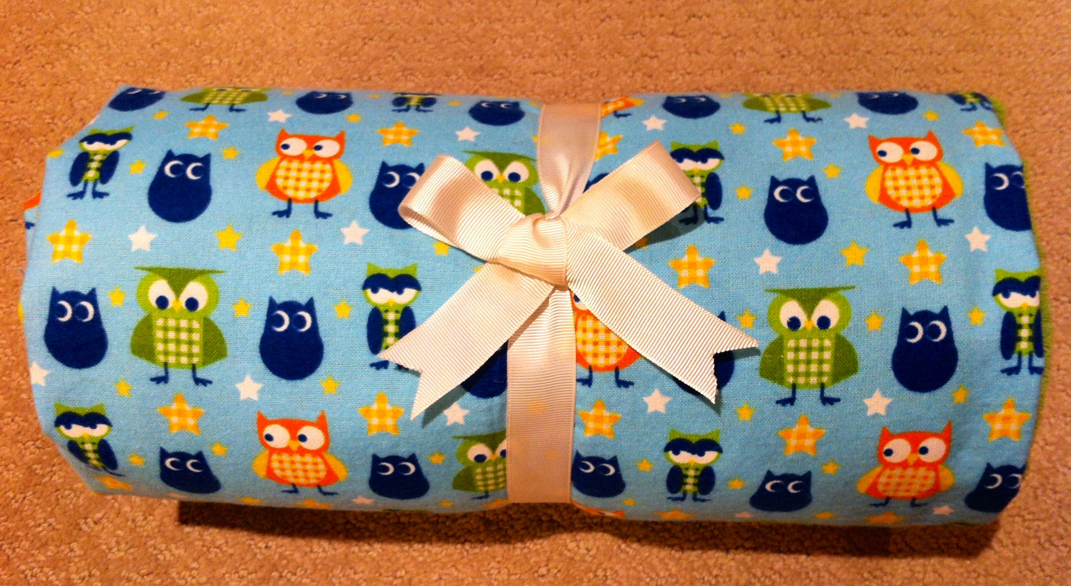 My husband and I have been married for 4 years and this is our very first Christmas with stockings. And the best part is... They are home-made! Check them out...
Check back soon for some "how to" tips.

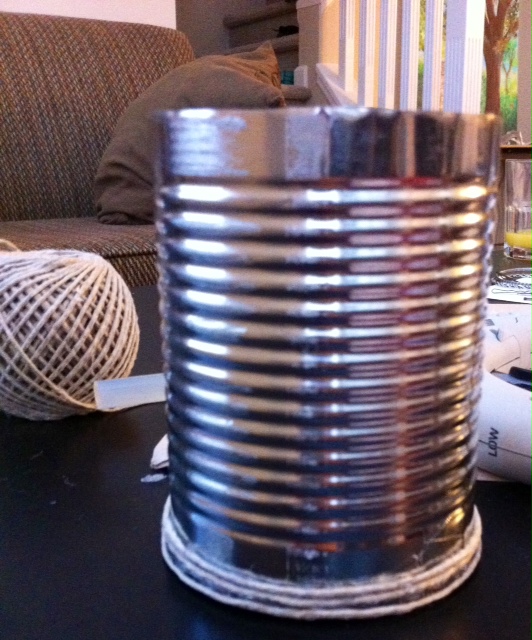
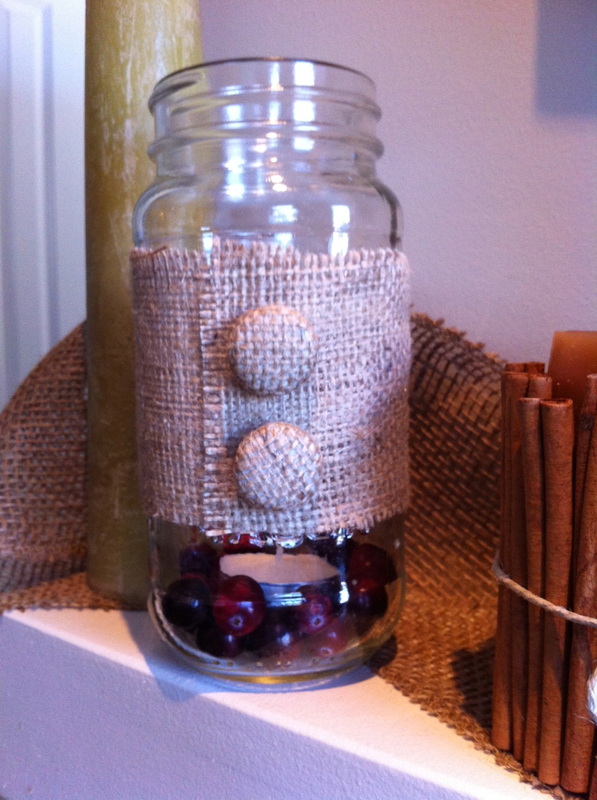
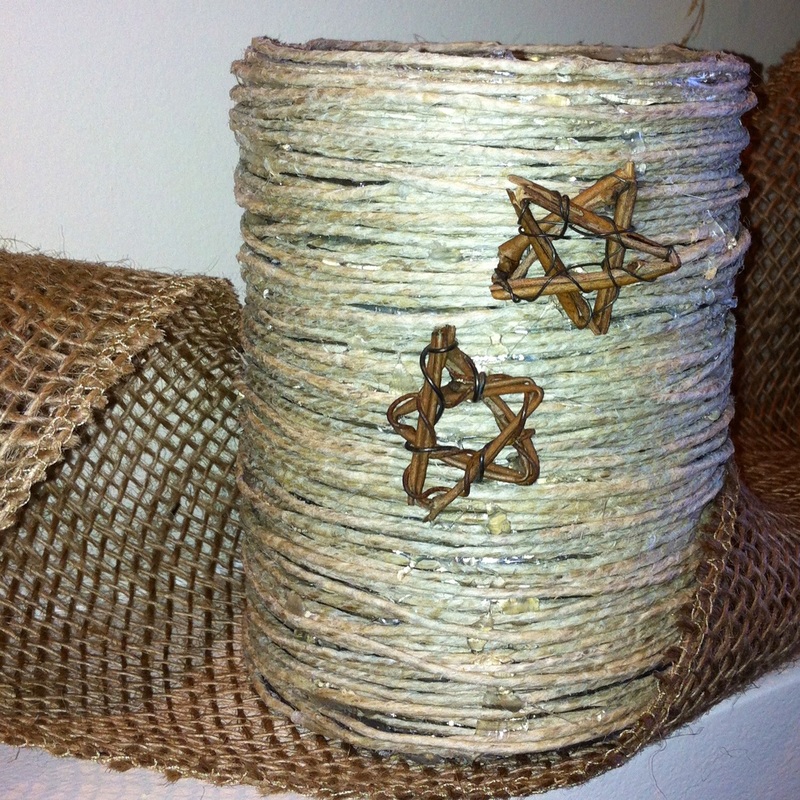
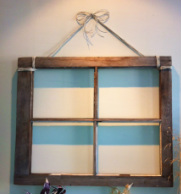
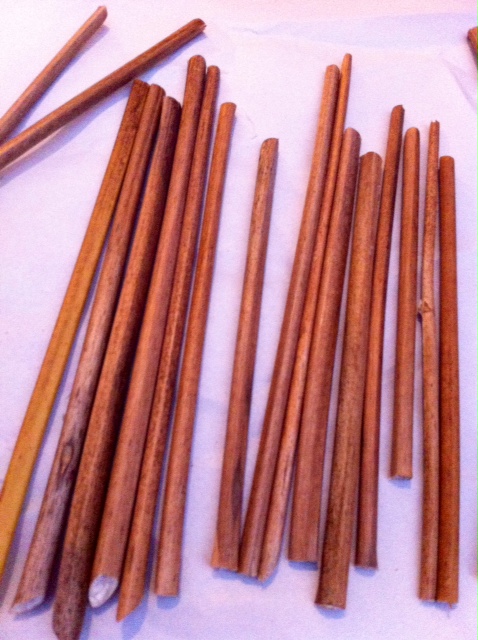
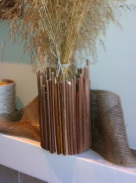
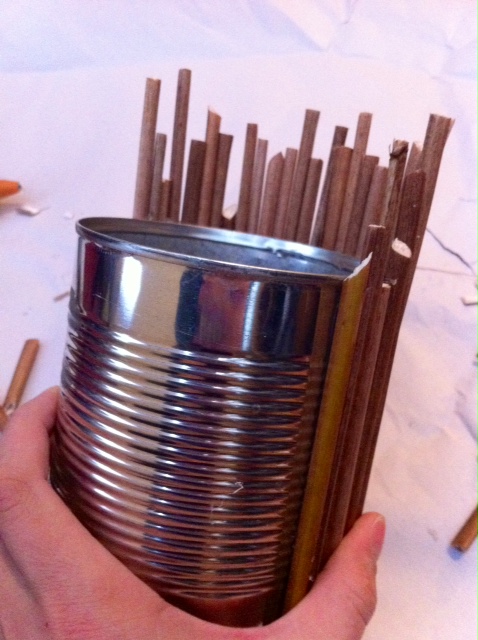
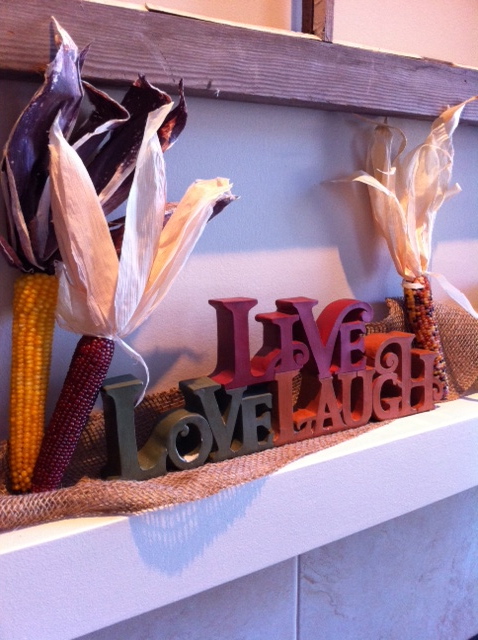
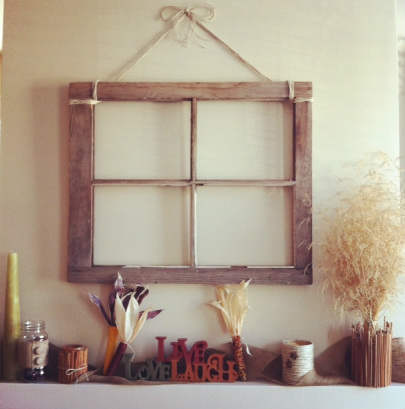
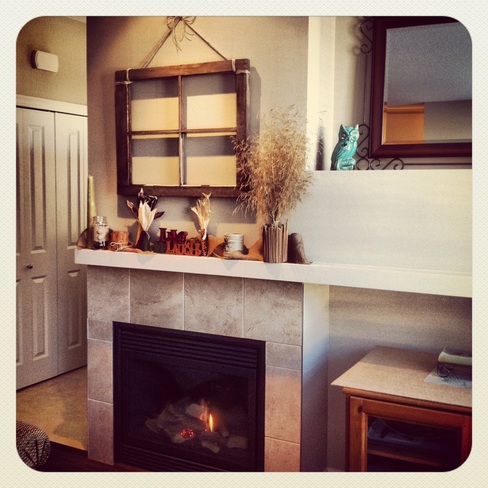
For my Fall mantle decoration I chose to make 4 decor pieces from things growing outside and materials lying around my house. Check out the process below.
When you put it all together...
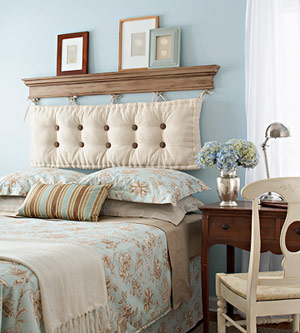
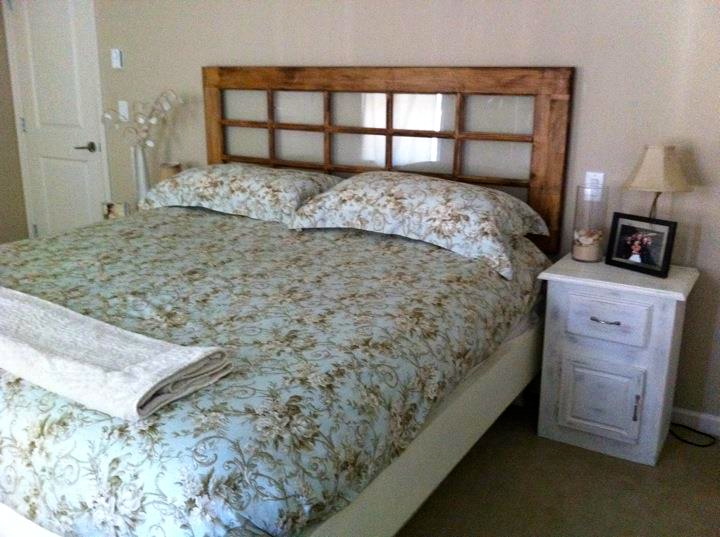
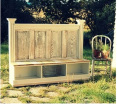
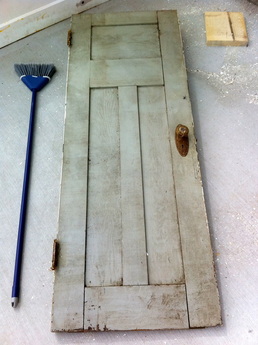
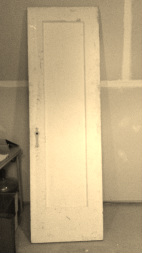
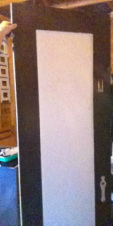
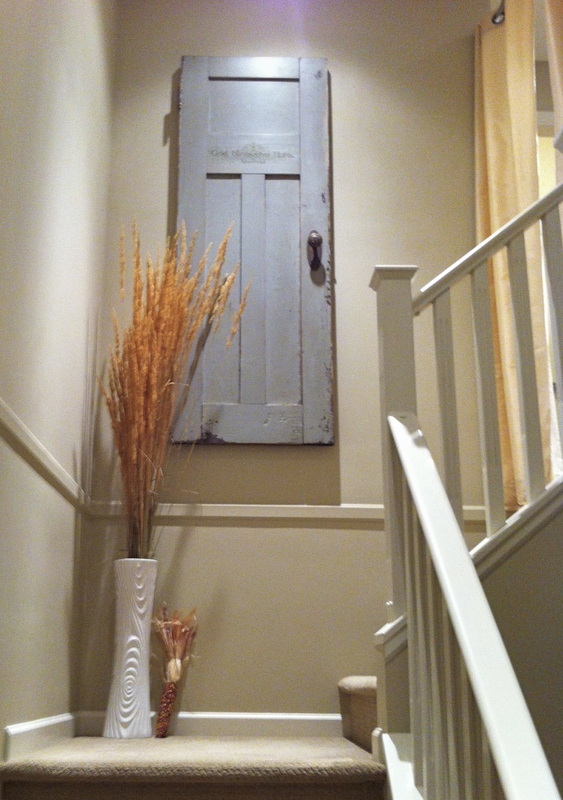
We concluded in my last post that my Master Bedroom was in desperate need of a headboard for my King Size bed. Was there money to buy a headboard? NOPE! With this picture as my inspiration for a headboard (and over all room colour scheme/style) I began to search for long pillows or bench seat cushions. I soon discovered that you don't find quality used pillows on Craigslist, especially this kind. And they sell online for over $100. I thought about having multiple separated pillows but nothing came of that either.
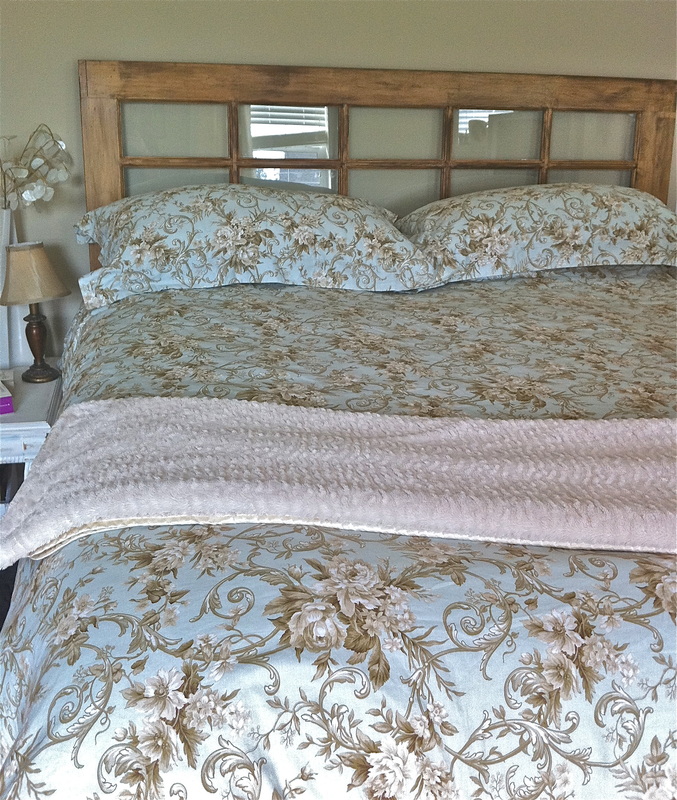
The other side of this door is actually the side that I ended up displaying as my headboard. I used a wire brush and a hammer and some stain to rough it up. Then I turned is sideways and hung it the same way as my last door project. Voila! A Headboard that cost me $0.00! (I already had the stain) The Result
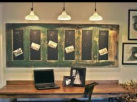
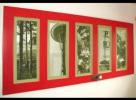
Let me know what you think. Chalk boards, coffee table, picture frames, kitchen tables, headboards, benches coat racks and wall decor all made out of.. you guessed it ---> DOORS! My love of doors all started with these pictures. The following are from various online blogs and were (and still are) the source of inspiration for me.
Filled with inspiration I set out to find some doors. But not just any doors... they had to be free (or under $20), made of solid wood and old. And of course, preferably full of character. My search was mostly conducted on Craigslist. I would look in the For Sale Section and set my search parameters to under $30 and within 25km from my house. Another favourite search category of mine was the FREE section. When I am itching for a new project I tend to refresh my searches hourly in hopes of being one of the first to respond to an ad and secure a time to meet. It is astonishing how fast things can be scooped up! You've got to be quick, friendly, committed and willing to work around someone else's schedule in order to secure the most Fabulous Frugal Finds. I am refreshing my searches on my iphone craigslist app right now even :) *A little tip for finding stuff on Craigslist - I find the best time to look is between 3:00-5:00pm. I find there are the most new listings during this time likely because most people are getting home from work.* My Frugal FindsFor this project I had the help of my Deal Diva Mother. I'm pretty sure the passion for finding deals and turning junk into treasure runs in our blood and has been passed down to me through the Hannah family genes. I came across an add on Craigslist that offered not just one, but 2 old doors for FREE. I love FREE! The only problem was that the door in the picture was GORGEOUS and full of character. I knew if I wasn't able to pick it up soon, someone else would. The location on the post was in Vancouver, almost an hour drive from my house, but only 15 minutes from my mom :D. I'm lucky she loves me so much!
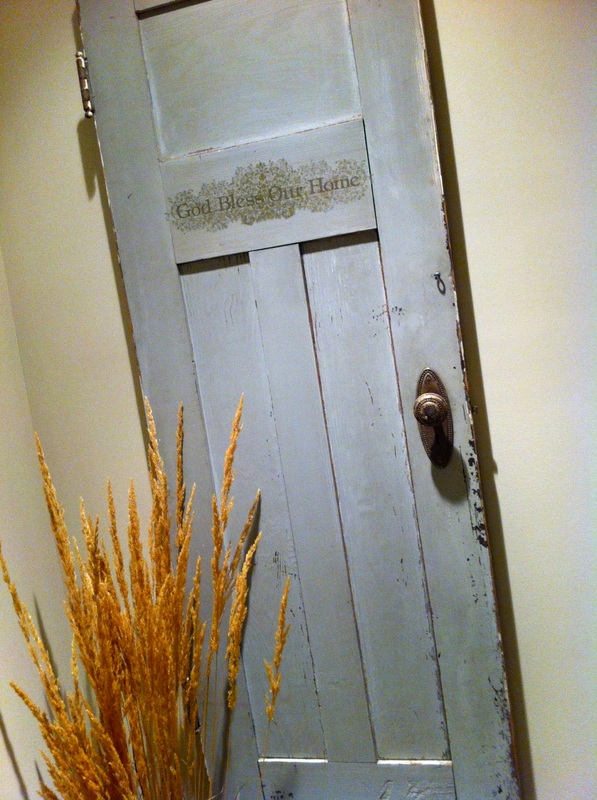
Let the Project BeginFor this project I used the first door (above). The colour was perfect, slightly muted, natural and warm. I decided not to paint the door. While the back of the door had naturally distressed look that was stunning and very unique, I decided to use the front because of the peaceful green colour, brass door knob and I think the hinges look best on the left too. The design of the door didn't inspire me to give it purpose other than decoration. After some cleaning, light sanding, the removal of the door knob on the back side and some embellishments - Here is how it turned out! 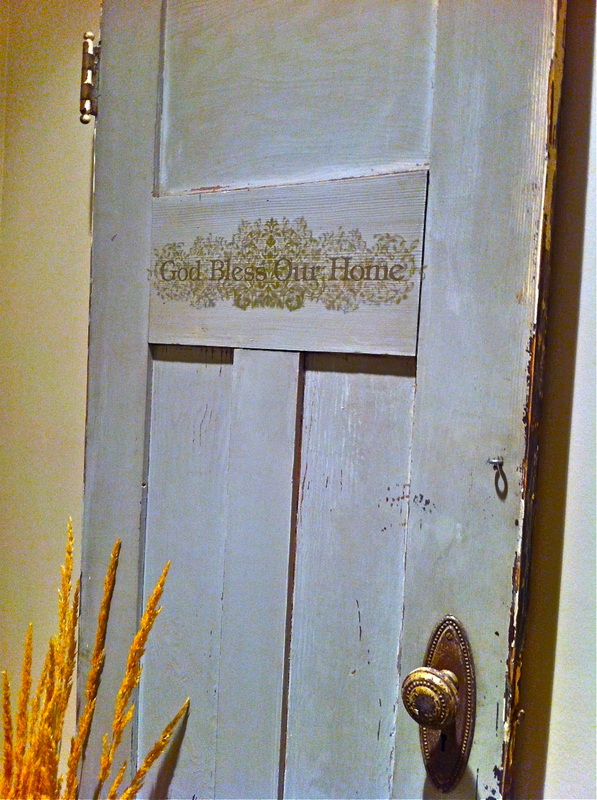 The vinyl sticker was from a dollar store in Langley. Only $3.00. I think it completes the door.
Total cost for this project $3.00 (crazy right?) Tools Used
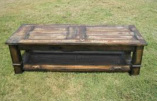
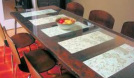
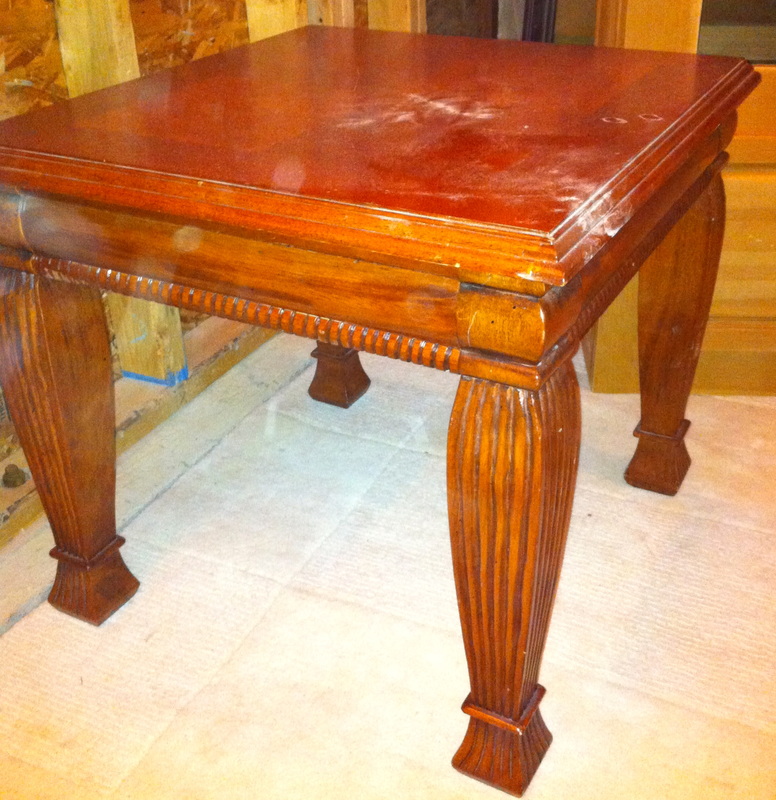
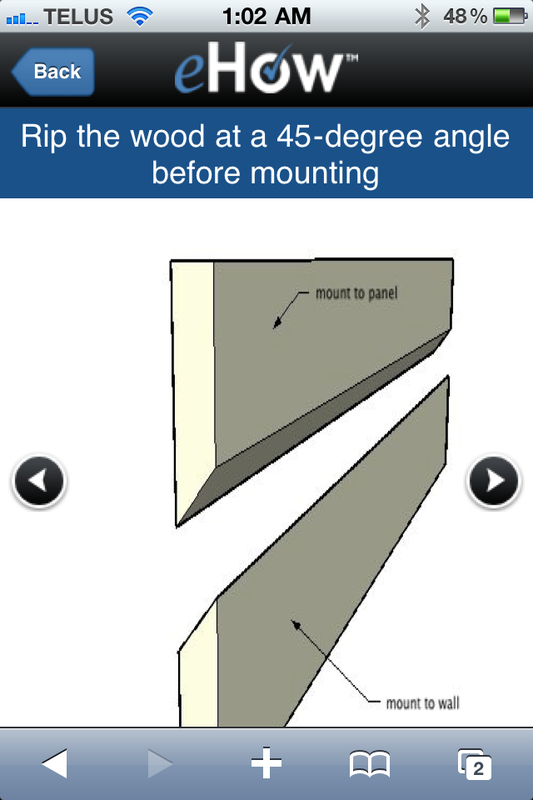 I looked on eHow and found this tutorial for hanging heavy items on a wall. The photo is taken on my iphone using the screen shot function. Just hold down the power button and the home button at the same time to take a picture of your screen. This function is great for storing ideas in your photo library! When my husband and I got married in 2008 he had some quality wood furniture that almost got put out on the curb. Thinking ahead... I figured we would need all the furniture we could get to fill our future house one day, and why waste 2 solid wood piece like this? The colour was a little nasty and the size wasn't very functional for our living room, but I knew that with some paint and time I could make these tables loveable and functional.
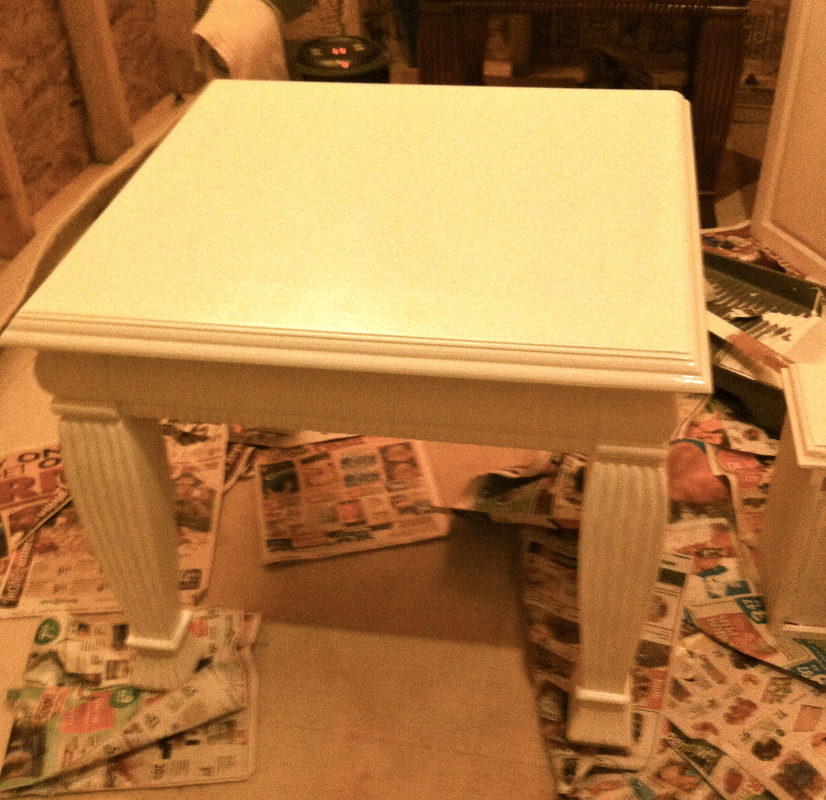
After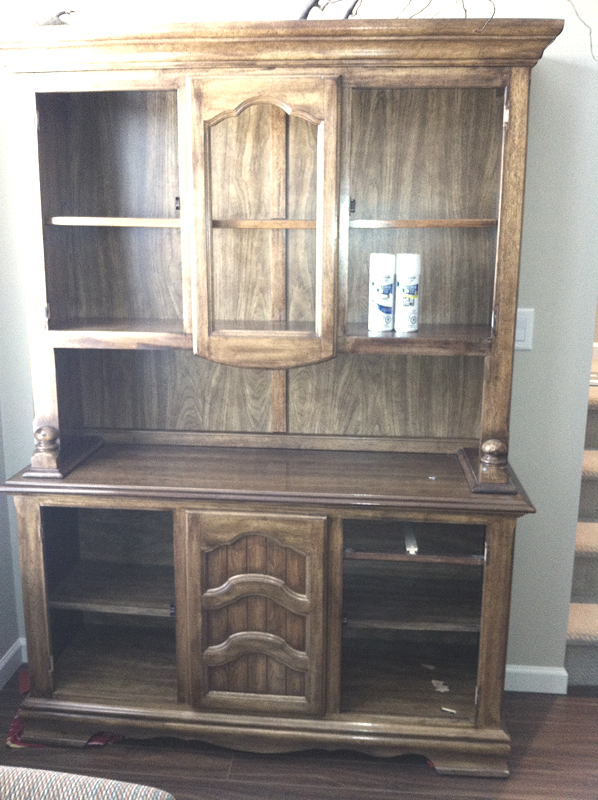
This solid oak hutch and buffet was a frugal
find on craigslist. I paid $0.00! My current project is updating this beauty into a shabby chic and burlap eye catcher.
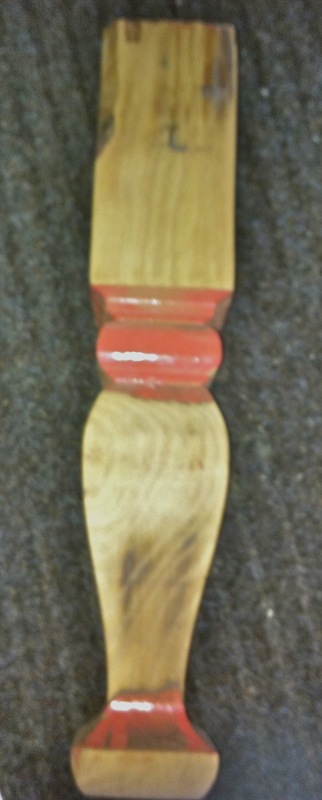
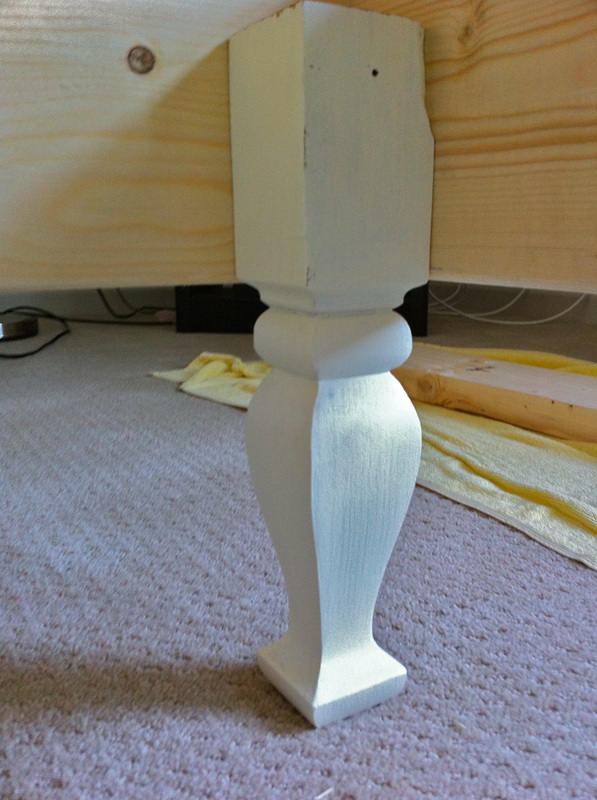
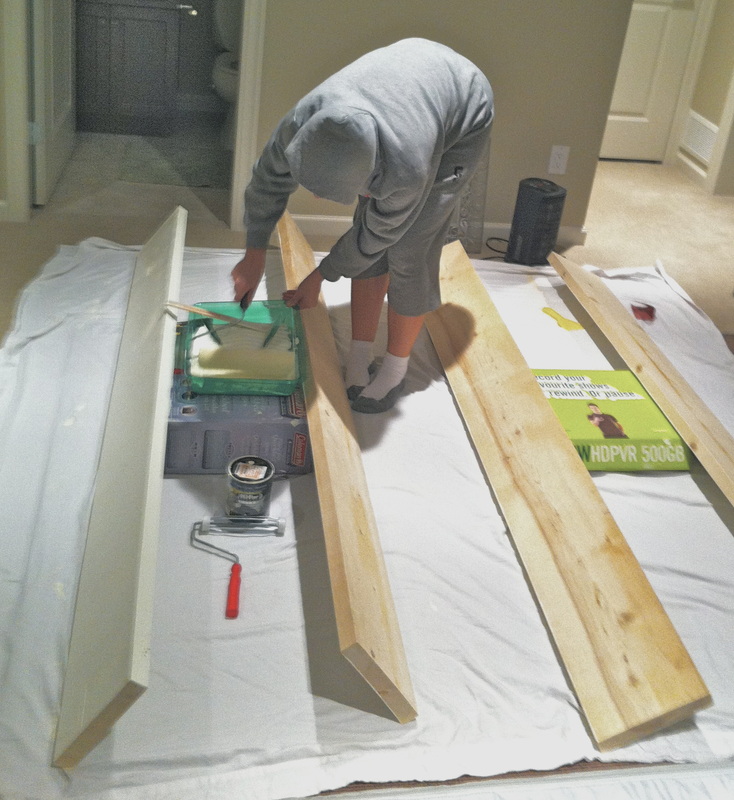
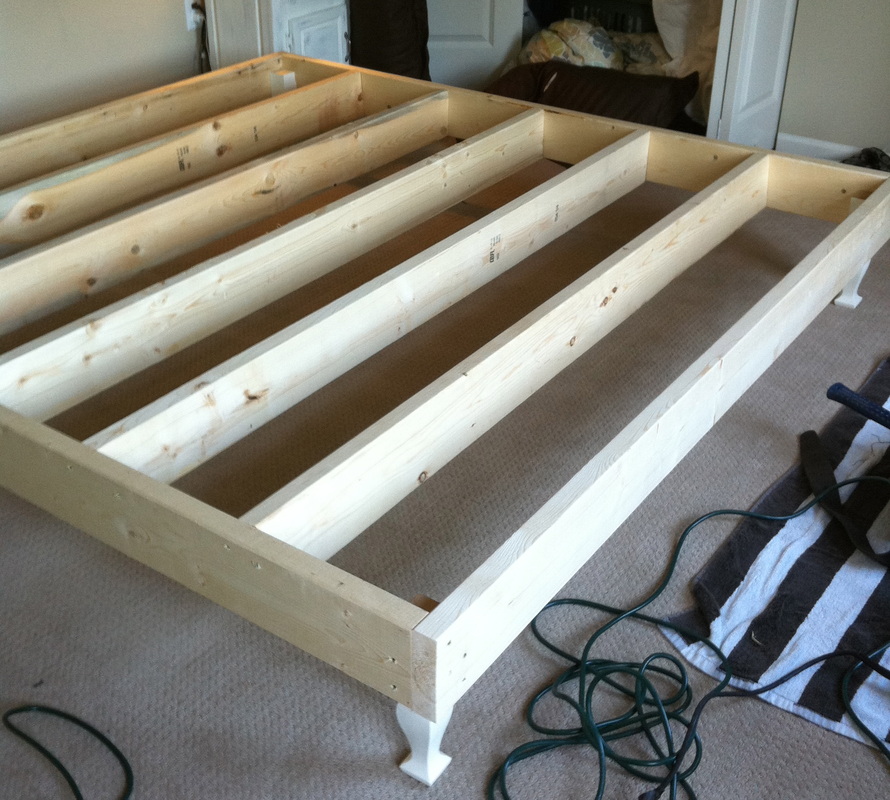
These are the feet for my bed. I got them from Napiers, a Country Antique store in Langley. I purchased all 4 legs for $15.00. I really wanted my Master bedroom to be more elegant and filled with peaceful colours. My very thoughtful husband realized 2 Christmas' ago that I enjoy creating furniture as much as having or receiving it. Knowing this, he decided to wrap a 4x4 wood post in wrapping paper for my Christmas present last year. I opened my card and it said, "I hope you don't mind me being creative. I wanted to build you a bed frame for your present but I now how much you like building things, so I thought we could do it together". And it's a very good thing we did! The bed frame would have turned out very differently had I not had ANY input--- YIKES! I am as frugal as they come so even spending money on the wood to make our bed was too much of a stretch for me. My husband bought a few pieces, but the majority of the wood came from left overs at his work (has his own construction company). So during the 1st week of January we built a bed frame together. Here is the process!
And my favourite part ----> The FINISHED PRODUCT! I have some better pictures of the bed frame but they give away the outcome of my next project so you will see more pictures in my next post. 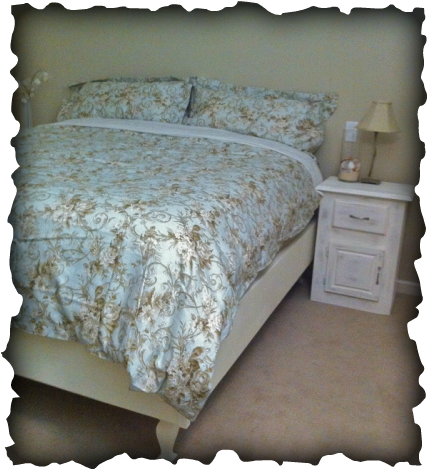 See also my night stand which I build in Tech-Ed 11. It was originally a natural wood colour but I painted it to give it a little update. The duvet cover set is from Home Sense. I paid $79 for it using gift cards from Christmas presents. Thanks Family <3 My Master Bedroom is drastically improved but I think we can all agree that there is something missing! A Headboard *This is an after picture for this project, but a before picture for the next* |
AuthorShelsea Dawn 
Hi, welcome to the Frugal Finds section of our Blog. I am an elementary school teacher and a new mom.
My blog is about: - Me - Love of all things frugal - DIY projects - Home Decor Inspiration - My love of teaching - Family - My baby Archives
September 2013
|